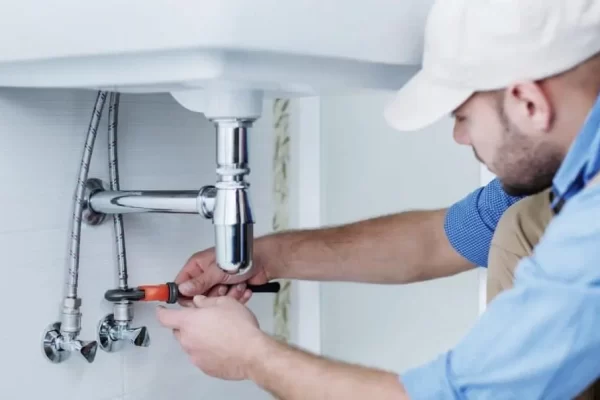
A good painting can last for many years when done with care and proper measures. Maintenance is key to having the paint on the exterior part of your house last long. And when you give the job of painting the exterior of your home to some Professional painter, you bet they will do it with beauty. Although it might cost you a good fortune, it will also be worth it.
But if you want to save pennies, it is better to do it. Don’t worry, and you will obviously do it under proper guidance. Doing it from a professional may involve the charges of the workers, paints and other supplies. But when you do it, you will simply need the cost of the paints and other necessary supplies. So, isn’t it better?
But, to paint the exterior of your house all by yourself, you will need some guidance. And here we are to provide you with the proper guidance you may need to paint the exterior of your house. Be informed that good paint definitely lasts long due to proper maintenance, but it is primarily due to the preparation. With appropriate preparation of your paint, it can last long.
And you will need to follow some simple steps before you become a pro painter. So, what are you waiting for? Let us start dwelling on the simple steps you need to know about painting the exterior of your house to give it a fresh and new look. Let us get started:
Step 1: It is time to wash the exterior!
Washing the exterior before you start painting is just the beginning of the fun part. But, do you know why it is necessary? It is known that mildew is likely to thrive under fresh paint. It won’t adhere excellently to dirt, grim, or spore-sporting exteriorwalls. And thus, it is essential to wash the exterior of your house before you start painting.
You must mix a phosphate-free cleanser and water with mildew killer concentrate. After that, you can apply the solution with your hand on a sponge. Although fun, this is a tiresome job because it needs a lot of ups and downs on the ladder.
Step 2: Time to scrape off some loose paint
When the clapboards are dry, it is time to remove the loose flaky paint. With the help of a handheld scraper, you can do the job best. You can also use an infrared paint stripper or a hot-air gun. But it is better not to use an open-flame torch. This can be dangerous, as it can lead to fire, and unless you have a permit, you are not allowed to use an open-flame torch.
While you paint the exterior all by yourself, it is better to take protection. It will be better if you wear a mask and a Tyvek suit while you scrape and spray water on the paint. Lastly, in the second step, collect the debris.
Step 3: think of the rough sand spots.
If you have any rough spots, then take the help of a random-orbit fitter with 80-grit sandpaper or a pad sander, which will help smoothen the area. Remember not to push very hard, or else it might leave marks of the sander on the wood. If you want to be lead safe, do not forget to use a sander fitter with HEPA filters.
Step 4: Time to fill and then repair!
Now that you are done washing, scrapping and sanding, it is time to retake a look if you have missed anything. Take a quick look at the uncovered holes, chips and dings.
Now, time to fill them out with the help of a patching putty. But, if you have a rot problem, it is better to get help from a carpenter. Also, before you proceed, have a look at the drainage. If you are having issues with that, fix that too.
Step 5: Time to apply some primer!
Immediately after you have prepared your wood siding, apply primer. Be it grey, white or tinted, primer makes your base even help you for topcoats and definitely a uniform canvas for you to make it colourful.
But leave some gaps around the door, joints, windows, and sports where there might be horizontal meets with the verticals.
Step 6: Time to caulk the joint!
Remember you left some gaps? Those are not meant to be filled in by primer, but with caulk, it is definitely a yes. Go for siliconised, or any polyurethane acrylic caulks which will give your paint a calming, smooth look. You will get to have a purely aesthetic look. Make sure you make your joints tight.
Tight joints are necessary for preventing any air leaks, which will eventually block the penetration of water. If you use good-quality caulks, you will also benefit from protection against harsh weather.
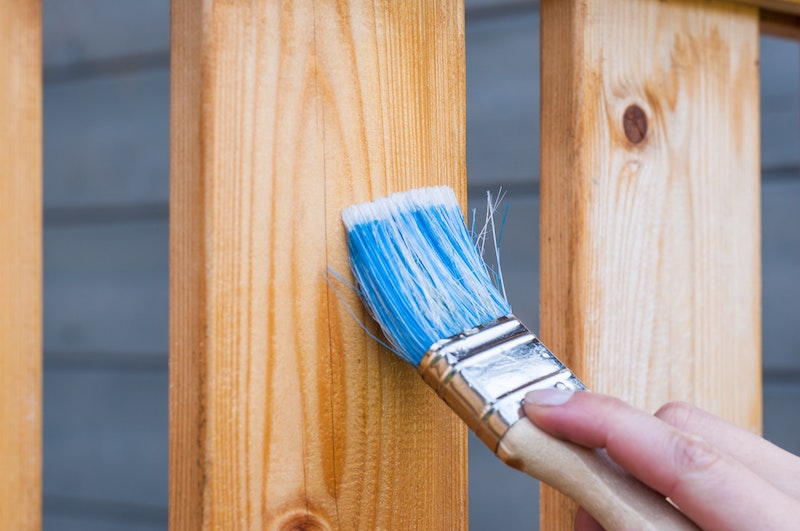
Step 7: Time to make the canvas colourful!
Choosing the right paint for the house’s exterior reflects your basic personality and taste. But choosing the right paint for long-term service is all that matters. So, go for water-based acrylic latex, which will not only be easier to paint but will also provide you with long-lasting service!
No mess while you are applying latex paint. It gets dried up easily and can even be cleansed with soap and water. But remember, if you have previously used oil-based paint, then it is better to stick to that.
Now, with a higher sheen, your pain will be all better. It will block the rays of the sun, thereby protecting your paint.
Step 8: Do not forget to apply the top coats
When applying the top coats, always remember that less is more. This is because using unnecessary layers can make your paint flaky. For light colours like white or lemon yellow, go for a single layer.
Final Verdict!
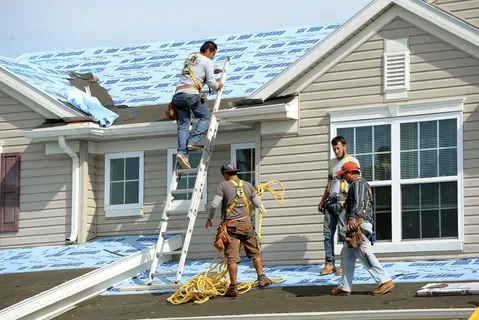
While painting your own house is fun, it is always better to call for professionals. It might be a bit costly, but you will have no headache. For the best exterior painting in Denver call A Perfect Finish Painting. They are known to be the best.