When you want to transform the appearance of a surface or improve its texture, Plasti Dip is one of the best products you can use. The results you get with Plasti Dip are often so impressive that you will find yourself randomly looking for other surfaces to apply it. However, it is vital to make sure you know how to use it correctly for the best results.
What is Plasti Dip?
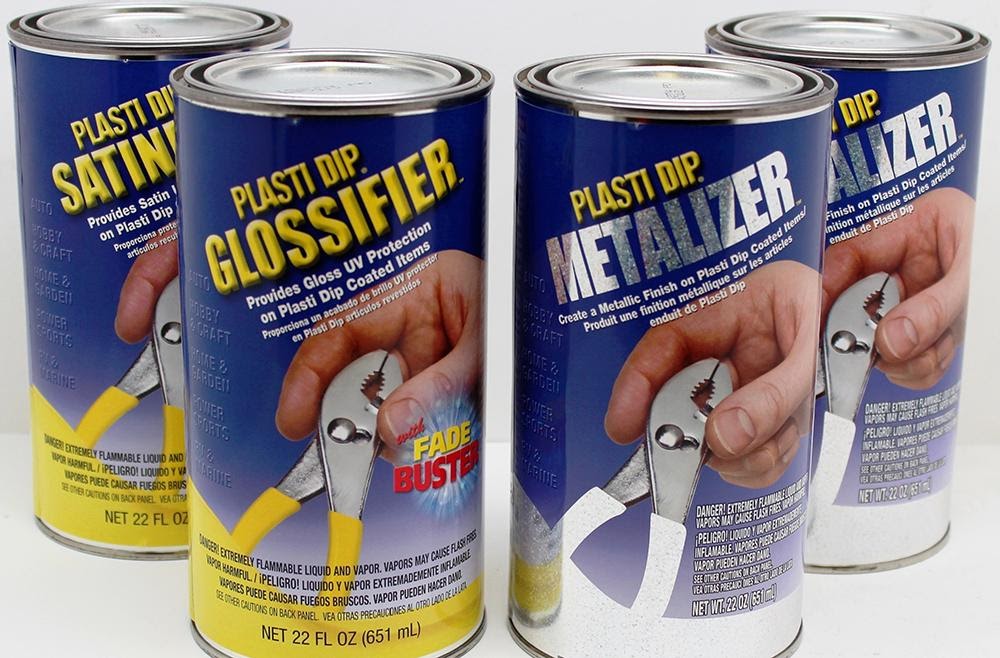
Plasti Dip is a rubber-like coating you can apply to objects and surfaces by dipping them in or even spraying them. It is very popular with motorists who want to change their vehicle’s color without getting a permanent automotive paint job.
With Plasti Dip, you end up with a flexible, smooth, and colorful surface. What’s more, using this product can help with the surface’s insulation and protect from corrosion, moisture, acids, and other elements.
Another advantage of Plasti Dip is that it is available in several color options, with the most common ones being black, red, white, yellow, blue, and clear. Better still, it peels off easily without damaging the surface when you want to remove it.
Where to Use Plasti Dip
Plasti Dip is quite a versatile product that will adhere to a wide variety of surfaces, making it ideal for different applications. However, the following are the most common places to use this coating.
- Workshop: As tools age, their surface wears out, therefore losing grip. Hence, Plasti Dip comes in handy here as it can give them a nice, non-slip texture for a perfect grip. You can use it to coat handles on common workshop tools like screwdrivers, pliers, and even hammers. What’s more, the coating can help prevent corrosion, which gives the tools a longer service life.
- Home: At home, you can dip things like doorknobs, faucet handles, and cabinet fixtures in Plasti Dip to give them a more stylish look or restore them if they are old and worn out. Better still, it improves their grip to make them easier and more comfortable to use. Additionally, you can dip mugs or glasses into Plasti Dip to enhance their look and make them easier to hold.
- Garden: Plasti Dip is a hardy coating that can withstand extreme temperatures of as low as -30 degrees Fahrenheit or as high as 200 degrees Fahrenheit. This means it also comes in handy for coating garden and outdoor tools or equipment that have to spend a lot of time at the mercy of the elements, such as spade handles, trowels, and sprayers.
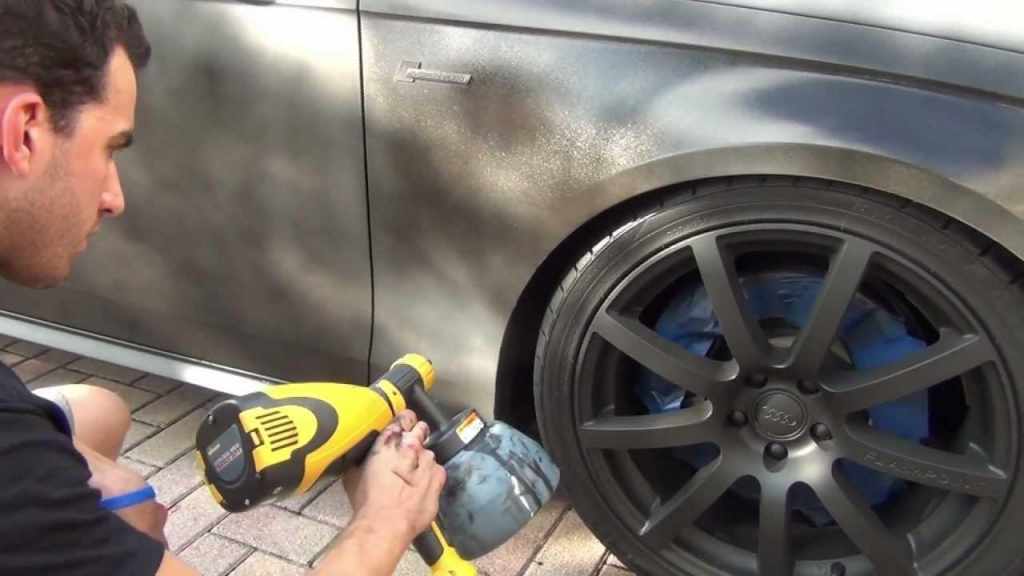
- Automotive: When many motorists want to change their vehicles’ appearance without paying for a complete and permanent paint job, they always turn to temporary coatings like Plasti Dip. You can use this coating to cover the entire vehicle or even specific automotive parts like handles or emblems to spice up the looks and provide extra protection from the elements.
How to Apply Plasti Dip to Surface Things You Need
- Plasti Dip (quantity depends on the surface size)
- Sprayer
- Plastic sheeting/old newspapers
- Painters tape
- Spring clamp
- Utility knife
- Microfiber towels
How to Apply
Step 1: Find a Suitable Location
When you want to apply Plasti Dip, the first step after gathering everything you need is always to find a suitable location for the job. It is essential to make sure you work in an adequately ventilated space as you will be dealing with chemicals.
An open garage with enough ventilation is often the most suitable place, but if you do not have one, you can still do it outdoors in a well-shaded area away from direct sunlight.
Step 2: Remove Any Old Coating
If the surface has some old coating, whether Plasti Dip or any other, you have to remove it before applying another coat. A utility knife comes in handy here for peeling off the old coating, depending on the kind of coating. (Diazepam) Sometimes you can still use this product over an old coating if it is in a good enough condition for recoating.
Step 3: Prepare the Surface
Removing the old coating is part of preparing the surface, but it is not the only thing you need to do. If you are applying the product on a vehicle, you need to do further preparation, such as covering areas where you do not want the product to touch, such as the headlights.
A painter’s tape and other things like old newspapers or plastic sheeting are handy when you want to cover areas you do not plan to coat. But, given how easy the product is to peel off, you can still clean it up afterward if you get some in unwanted places.
Step 4: Clean and Dry the Surface
With the surface well prepared, the next step is to clean it thoroughly. Cleaning is vital as things like dirt can create imperfections on the surface when you apply the Plasti Dip. Remember to dry the surface well, and if it is a vehicle, microfiber towels are great as they do not scratch the body or leave streaks.
Step 5: Spray Plasti Dip
Next step is to apply the product. If you are coating a small object, you only need to dip it into the open can. However, you have to spray the Plasti Dip for large surfaces, and here you need to have a good sprayer.
Step 6: Allow it to Cure
The last step is to allow the surface enough time to cure. In most instances, it takes about 4 hours to dry completely. As the coating cures, it is vital to ensure you keep out water and any other substance that can affect the curing process.
Conclusion of Plasti Dip
Plasti Dip is a fantastic coating you can use to protect and improve the appearance of a wide variety of surfaces. It comes in handy in various places, from workshops to gardens and automotive. However, using it correctly is vital to get the best service from it, but this is also relatively easy as you only need to prepare the surface, apply the product and give it enough time to cure.