If you own a Mac but have never turned on Dark Mode, here is a blog for you that will explain how to make Mac dark mode and a few reasons why you should try it.
Dark mode has become a popular feature on many devices, including laptops. Mobile phones and computers. It mitigates eye strain and enhances user visibility in dull light environments. It also conserves battery life on laptops and mobile devices. Therefore, if you’re a Mac user, you may be wondering how to enable and customize dark mode on your device. In this blog post, we’ll walk you through the steps of how to make your Mac’s interface dark and how you can customize it according to your needs.
What Is a Mac’s Dark Mode?
The dark mode is designed to mitigate eye strain and enhance user visibility in dull light environments, and also has the potential to save battery life on laptops. While some apps and system features have dark modes built into them already, such as Mail and Calendar, Dark Mode extends this functionality to many other apps and system features. (atticsandmore.com)
On your Mac, this mode means that the menu bar, dock, and most apps will have a dark background with light text, as opposed to the traditional light background with dark text. This feature is designed to reduce eye strain, especially in low-light environments, and also has the potential to save battery life on laptops. Moreover, the dark mode can be easily enabled and customized on a Mac running macOS Mojave or later.
How To Use Dark Mode On A Mac
Now you know what dark mode on Mac is, let’s see how you can enable it. To use dark mode on a Mac running macOS Mojave or later, you can follow these steps:
- First, click on the Apple icon, which is usually located somewhere at the top corner of the screen, and tap on the “System Preferences” icon.
- Next, click on the “General.” icon from the Mac System Preferences tab.
- Now when you are in “General,” look for the “Appearance” section. In the “Appearance” section, you’ll see two options: “Light” and “Dark.” Select “Dark.”
- Now, most of your background, such as the dock and most apps, will be dark with light.
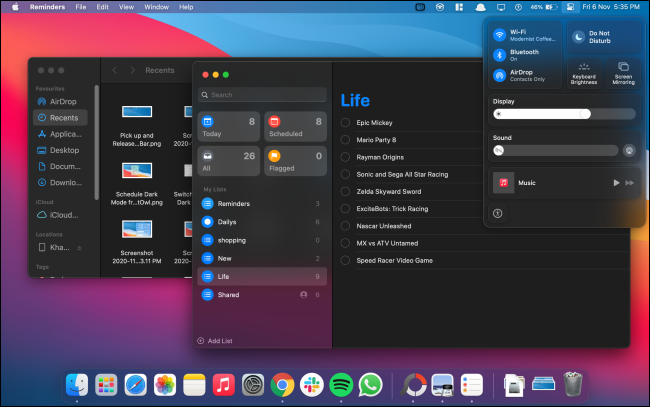
Apart from that, you can also toggle between the two modes via the control center by clicking on the control center icon on the top-right corner of the screen or via keyboard shortcuts by pressing CTRL + cmd + T.
Moreover, please note that some apps may not support dark mode; in that case, you will have to switch to light mode while using them.
Customizing Dark Mode
Now you have your dark mode all set; you can further customize the experience of this dark mode to your liking. Below are some steps that will help you do that:
- First, if you want to change the accent color of the dark mode, you have to go to the System Preferences tab then, go to General, and then Appearance, and select the “Dark” mode. There you will see an option to change the accent color for buttons, drop-down menus, and other interface elements.
- Next, If you want to Adjust the color scheme for specific apps, you can go to the “View” menu in the Finder app and select “Use Dark Menu Bar and Dock.”
- Moreover, if you want to use different themes for different apps, you can use the “Smart Invert” feature, which will invert the colors of most apps and interfaces, except for images, media, and some apps that use dark color styles. To enable Smart Invert, you have to go to System Preferences, then Accessibility, then Display, and then tick the checkbox next to “Smart Invert.”
- Lastly, if you want to change the system-wide font size, you have to go to System Preferences, then Accessibility, then Display, and select Larger Text; you can adjust the font size as per your liking.
Troubleshooting Common Issues
While dark mode can be a great addition to your Mac experience, some users may encounter issues when using it. Here are a few tips for troubleshooting common issues:
- Apps not displaying correctly: Some apps may not support dark mode or may not display correctly when dark mode is enabled. In this case, you can try switching to light mode while using those apps. Or you can check the app’s settings for a dark mode option.
- Difficulty switching back to light mode: If you’re having trouble switching back to light mode, try going to System Preferences > General > Appearance and selecting “Light” mode. Or you can use the Control Center toggle or keyboard shortcut CTRL + cmd + T
- Smart invert not working as expected: Smart invert feature will not invert the colors of images and media, and some apps that use dark color styles. If you find it not working as expected, you can try disabling it and switching to Light mode.
- Dark mode causing eye strain: If you find that dark mode is causing eye strain, you can try adjusting the brightness or contrast of your display or take regular breaks.
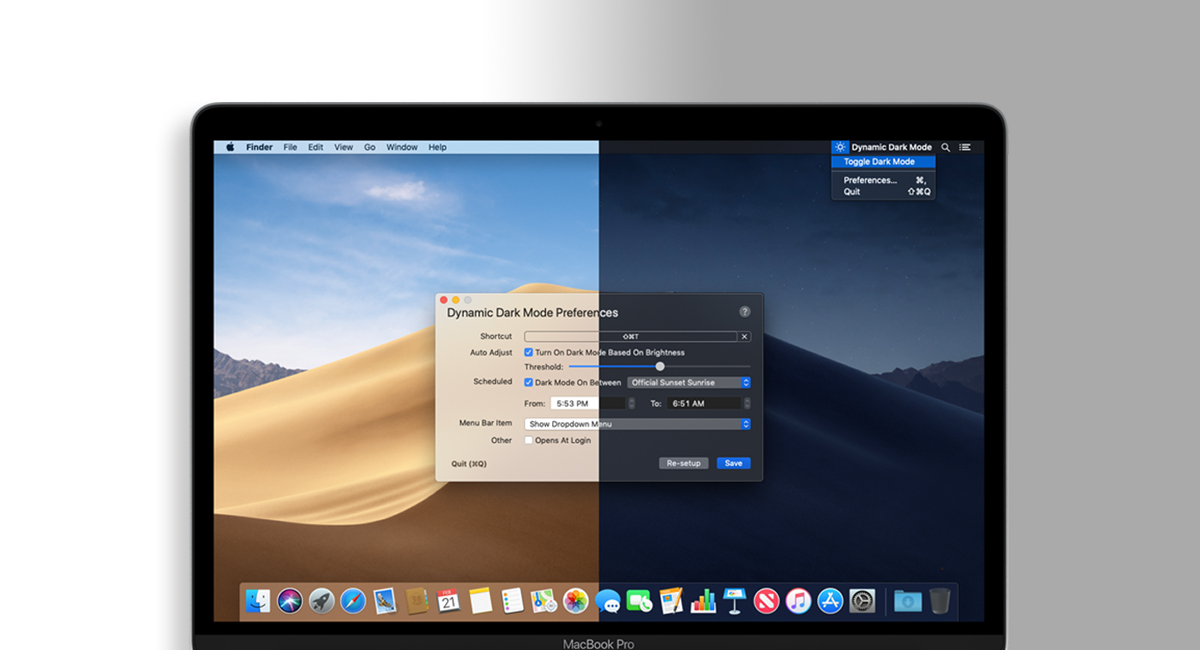
- If you are still facing issues, you can try resetting NVRAM or PRAM or try using a third-party app to control the dark mode.
By troubleshooting common issues, you can ensure that dark mode is working correctly on your Mac and that it’s a comfortable and productive experience for you.
Also Read: How to Become a Top-Rated Web Design Company?
Conclusion
To sum it up, Dark mode is more than just a fun new way to customize your Mac’s Appearance: it can improve the usability and productivity of your computer. Whether you’re at home or in a low-light environment, this feature can help you find your way around easily, reduce strain on the eyes, and save battery life if enabled on laptops. And with a few troubleshooting tips and tricks at your disposal, it’s easier than ever to get started with or customize dark mode on a Mac.